Getting Started
This is the golden path: from a fresh account to a funnel serving live traffic on your own domain. It takes about fifteen minutes. Every step is a real screen in the dashboard, and the whole tour can be driven by the AI assistant once you reach the editor.
Do it with an agent: once you open a funnel in the editor, you can hand
most of this tour to the AI chat — e.g. “Assign an offering to the plan
offer, change the paywall headline, and show me the preview.” The assistant
edits your draft; you still preview and publish yourself.
Before you start
You need three things, and this page walks you through the first two:
- A project (your workspace).
- A connected payment store with at least one offering that has a live price. Stripe, Paddle, Whop, SolidGate and Primer are all supported; this page uses Stripe.
- A custom domain — funnels are only served on domains you own. There is no
*.appfunnel.netaddress. You will attach one at the end.
Create a project
On first sign-in you land in the onboarding wizard.
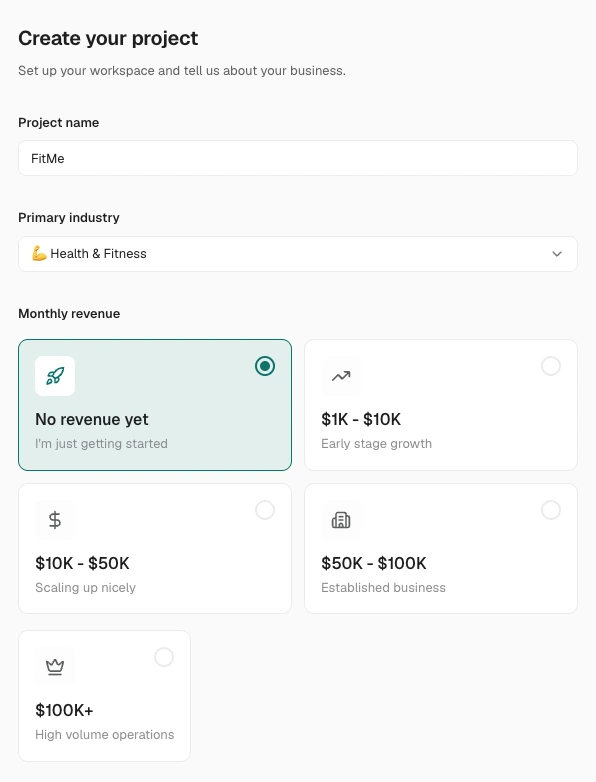
Step 1 — “Create your project.” Enter a Project Name, pick a Primary Industry, and choose a Monthly Revenue band. Continue stays disabled until a name and industry are set.
Step 2 — “Connect your app stores.” Toggle App Store and/or Google Play and search for your app. This is optional — you can skip it and add stores later. Hit Complete setup.
The project is created and you move straight into plan selection.
A collapsible Get Started checklist appears in the sidebar — Connect a store, Create your first funnel, Connect your domain, Create your first campaign, Receive first visitor, Receive first payment. It ticks each item off as you complete it and hides itself once all six are done.
Connect a Stripe store
Open Stores → Add Store, then choose Stripe (“Payment processing platform — you are the merchant of record”).
The recommended path is Install Stripe App (badged Recommended). This sends you to the Stripe marketplace to install the Appfunnel integration; Stripe generates a restricted API key scoped to only the permissions Appfunnel needs — no full-account access. The alternative is to paste keys manually under API Keys: a Publishable Key (pk_test_…) and a Secret Key or Restricted Key (sk_… or rk_…).
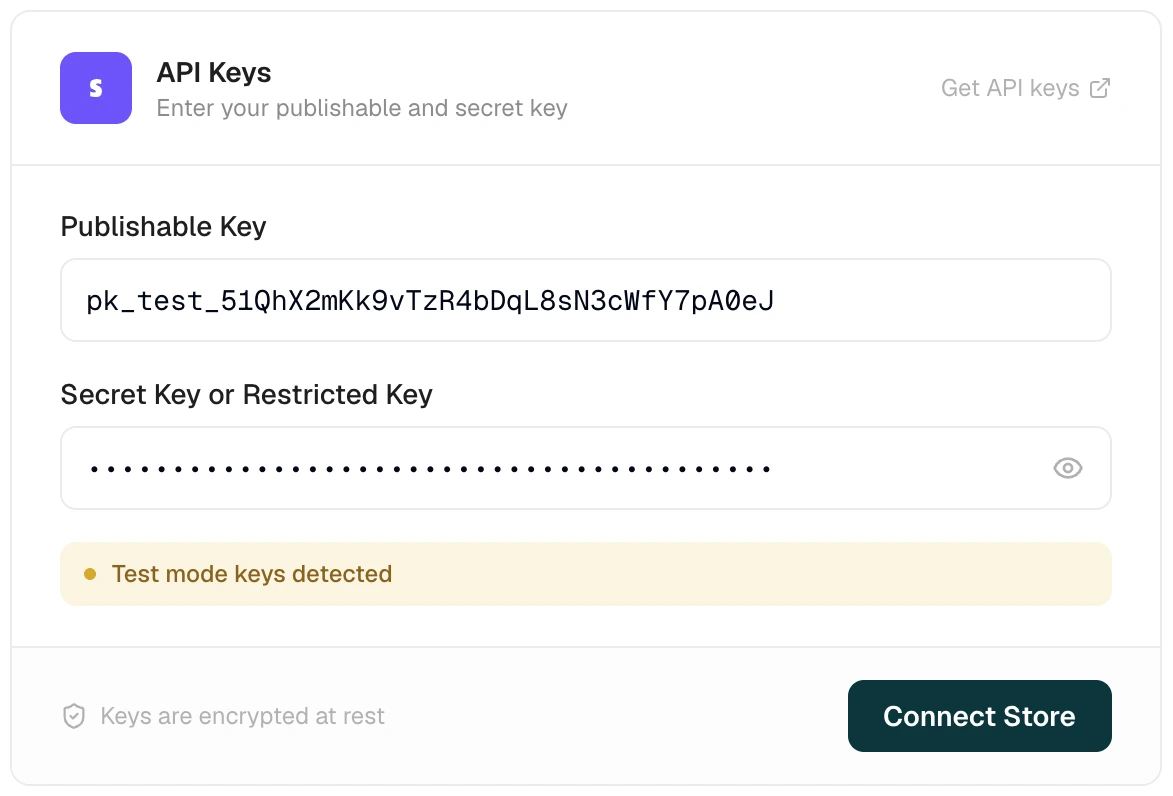
Test vs live is inferred from your keys. Paste pk_test_/sk_test_ keys and the store runs in Test Mode (amber badge); paste pk_live_/sk_live_ keys and it runs live. Both keys must be the same mode — a mismatch is rejected with “Key mode mismatch. Both keys must be either test or live mode.” Start in test mode so you can QA a real checkout without charging a real card.
The store shows a Pending badge until Stripe delivers its first webhook event, at which point it flips to Activated. Full secret keys let Appfunnel create the webhook endpoint for you; restricted keys walk you through a short manual webhook setup.
Paddle, Whop, SolidGate and Primer are offered as providers too, and connect the same way — see Offerings & Catalog. Paddle in particular is labelled an Alpha Feature by the product itself: “Paddle integration is currently in alpha and may have limitations or unexpected behavior. We strongly recommend contacting support before using it in production.” Use Stripe for your first funnel.
Create an offering with prices
A funnel sells an offering — a stable key (like pro_monthly) that carries a charge identity independent of any one Stripe price. Right after connecting a store you’re offered a price import; import the prices you want, then head to Catalog.
In Catalog, choose New offering. Give it a key (lowercase, a–z 0–9 - _, referenced verbatim by funnel source), a name, a kind (subscription or one-time), and a provider (Stripe). Then bind prices:
- Live price — the Stripe price charged in production.
- Test price — the Stripe price charged in test mode. Without it you’ll see “No test price — you can’t QA this offering in test mode.”
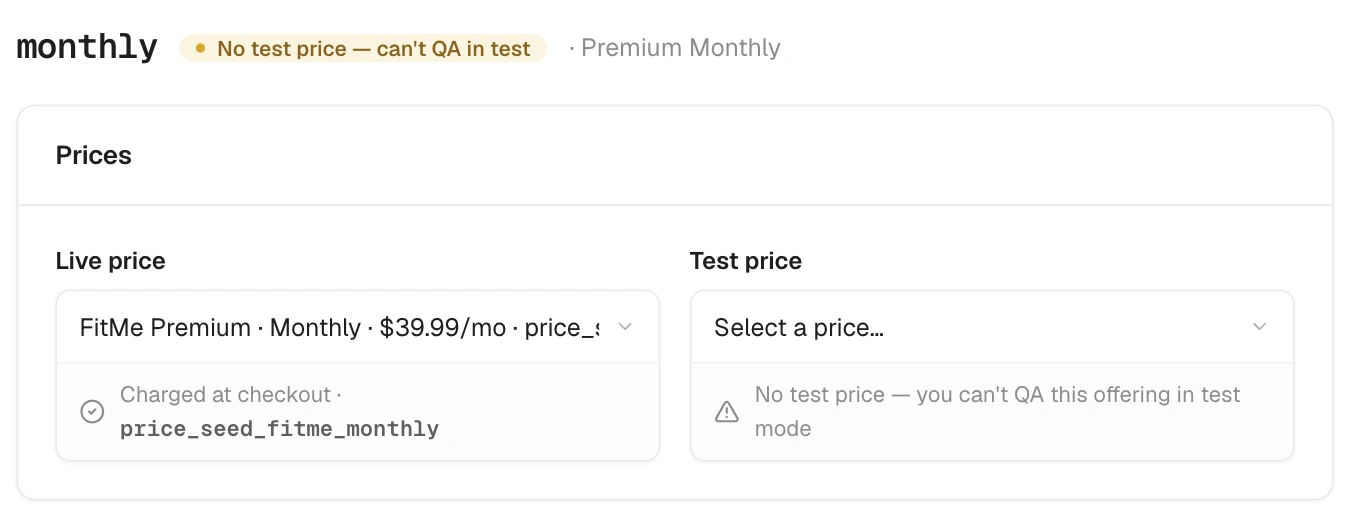
Bind both. The live-price binding is what a later publish gate checks; the test-price binding is what lets you run a real test checkout.
Entitlements are granted on the price, not the offering. If your app gates
features on an entitlement like premium, open the price and add it under
Granted entitlements — and do it on both the Live and Test price, since the
two are assigned independently. See
Entitlements.
Create a funnel
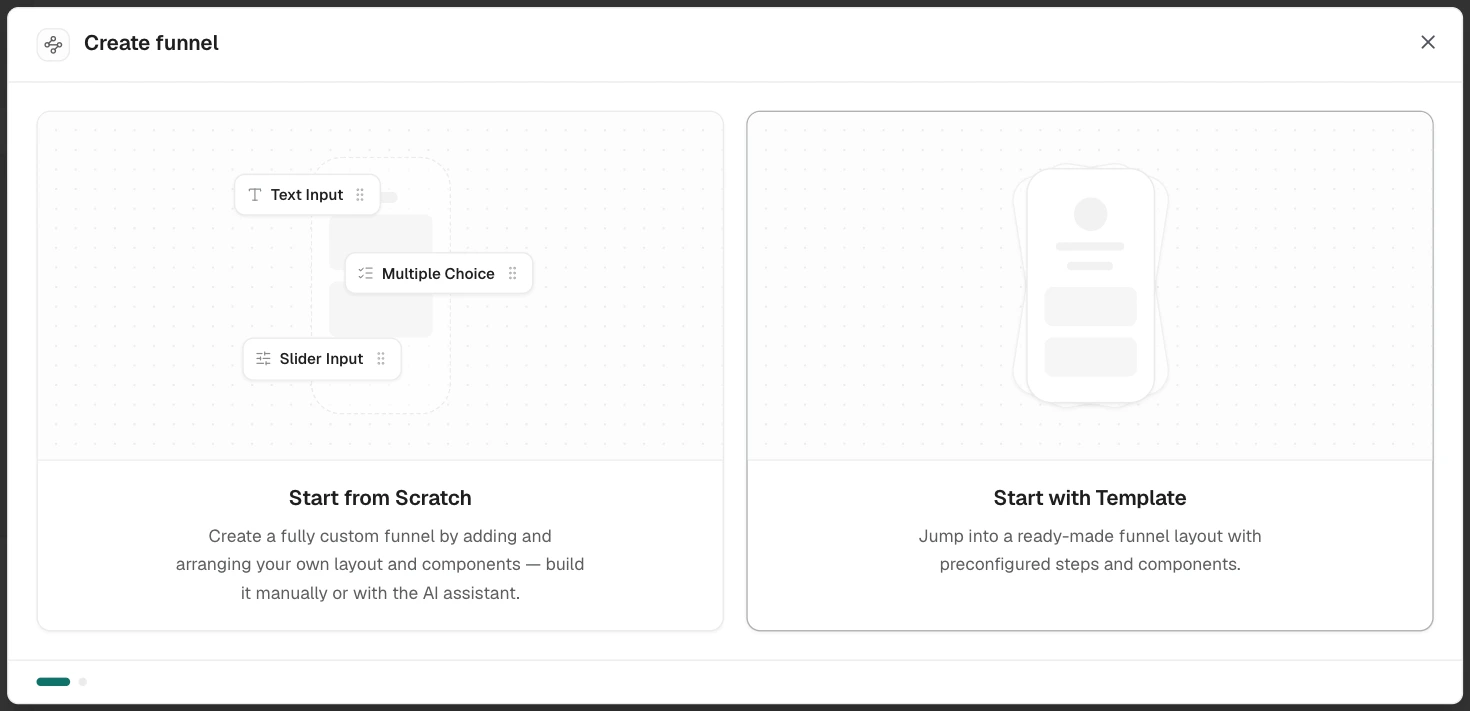
Open Funnels → New funnel. The wizard opens on two choices:
- Start from Scratch — a small working funnel you build up yourself or with the AI assistant.
- Start with Template — a complete, ready-made funnel. The gallery filters by category (Health & Fitness, Education, Mental Health); clicking a card opens the whole flow on a canvas so you can walk every page before you commit, and Use Template takes it.
Either path ends on a Funnel Name step — blank from scratch, prefilled with the template’s title otherwise. Hit Create funnel and you drop straight into the full-screen editor.
You can browse the same gallery any time from the Templates tab on the Funnels page.
The rest of this tour follows Start from Scratch, because that funnel is the smallest thing that still shows every moving part. A template funnel is the same kind of project with more pages in it — everything below applies to it too, though its offering slots may be named something other than plan.
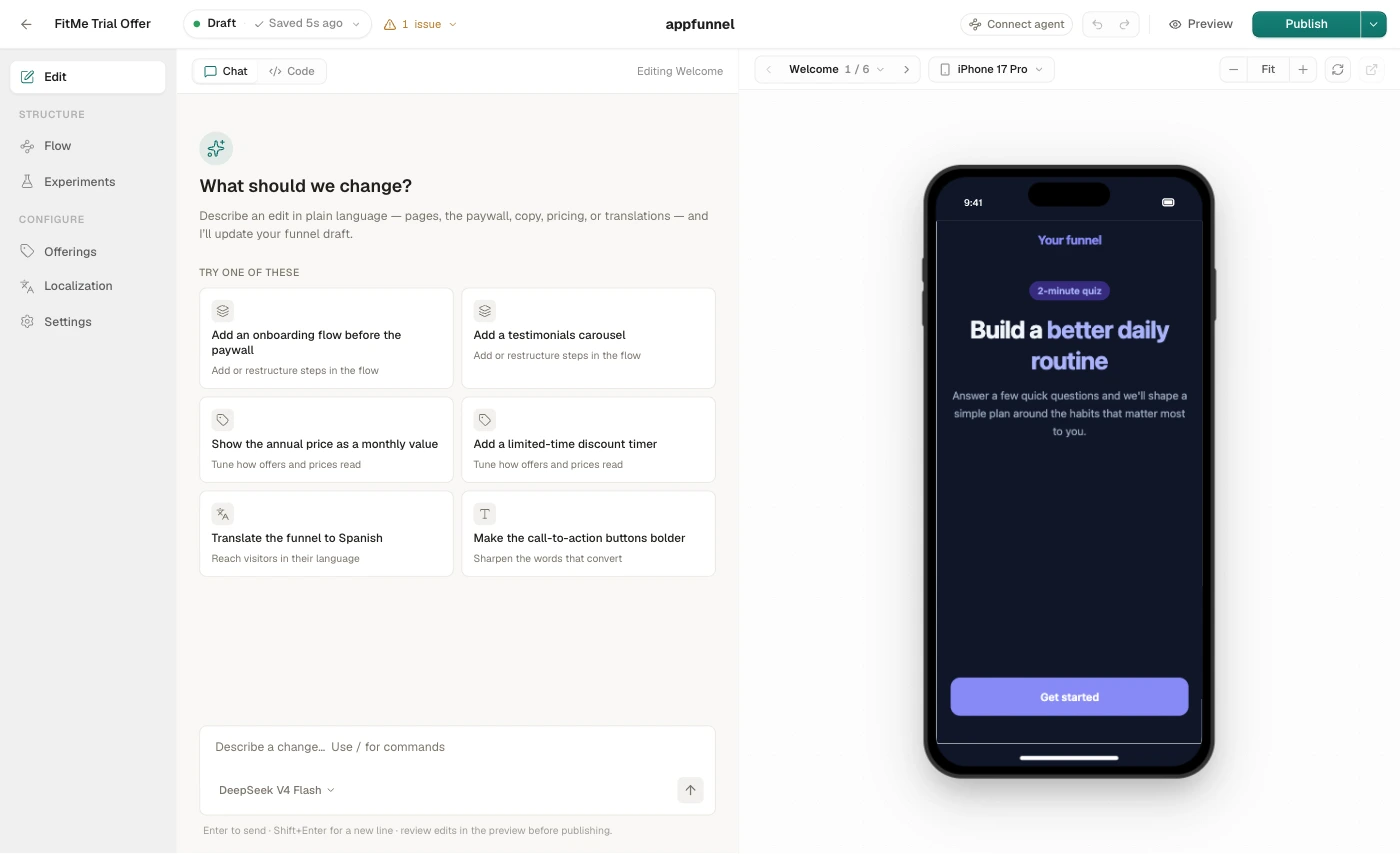
Starting from scratch gives you a working four-page flow: welcome → email → paywall → finish, with Stripe checkout and a single offering slot named plan that is declared but not yet assigned.
Assign the plan slot
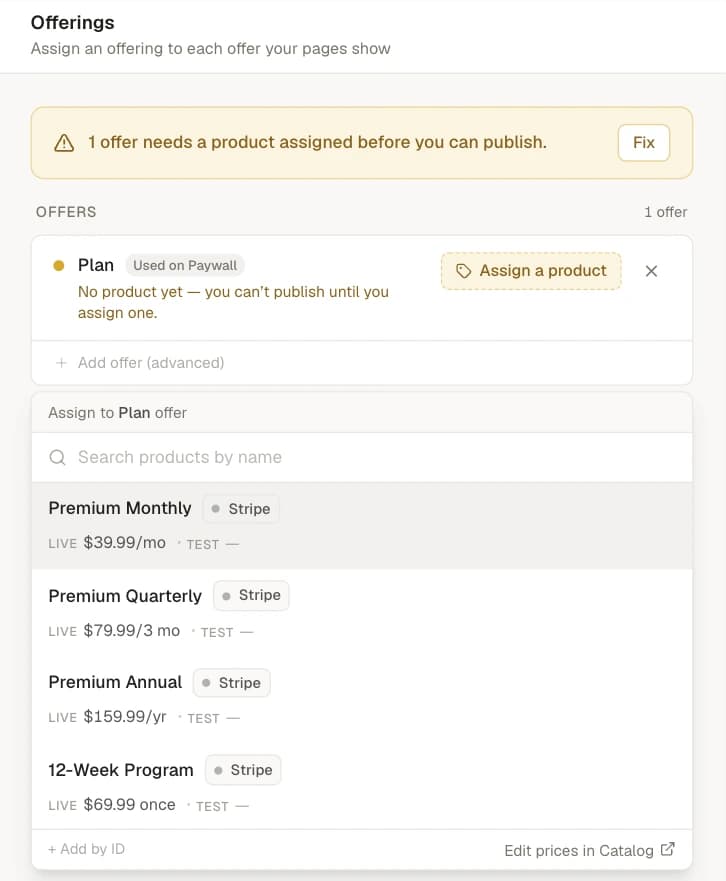
Your funnel’s paywall references an offering slot called plan, but the template ships it unassigned (offerings: { plan: null }), so the paywall shows a placeholder hint instead of a price. You assign the slot to an offering in the Offerings view (the rail icon on the left).
The Offerings view lists each offer your pages use with a status dot. plan starts amber — “No offering yet — you can’t publish until you assign one.” Click it, pick your offering in the picker, and the dot goes green: “Ready — an offering with a live price is assigned.” Reassigning a slot later changes what you sell without touching a line of page code.
Do it with an agent: in the AI chat, say “Assign the paywall offer to
my pro monthly offering.” The assistant edits funnel.ts for you.
Edit a page
Open the Code view and select pages/welcome.tsx. Make a small, real change — the funnel is a React project, so this is just JSX:
<h1 className="text-3xl font-bold tracking-tight">
	Reach your goal in 12 weeks
</h1>
Every edit autosaves to your draft (you’ll see Saving… then Saved in the top bar). The live preview updates the moment you change a file.
Preview in test mode
Before publishing anything live, publish a test preview and run a real checkout against your test price.
The Preview button in the editor builds and serves the funnel in test mode. Walk the flow end to end — answer the questions, enter an email, and complete a checkout using a Stripe test card. Test-mode traffic never touches your analytics, so QA is free.
Publish live
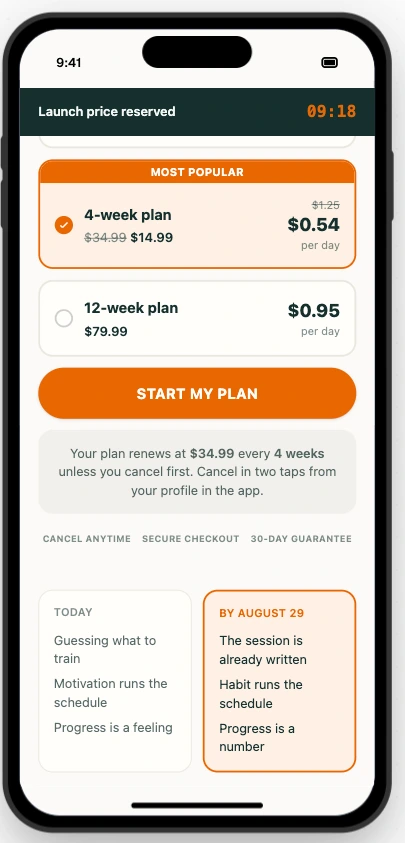
When the test flow looks right, publish. The Publish split button builds the funnel and promotes it to your live pointer.
Publishing to live runs three checks, in order, and refuses if any fails:
- The release must be READY — a clean compile with no blocking issues.
- Every offering slot a page uses must be assigned — an unassigned or undeclared slot blocks the publish.
- Every assigned offering must have a live price bound in the catalog. If not, publishing is blocked and names the offerings that still need a live price. Bind them in Catalog and publish again.
That third gate is the most common surprise: an offering that works in test (it has a test price) still can’t go live until it has a live price bound too.
Attach a custom domain and activate a campaign
A published funnel is a release sitting in storage. To serve it you need a custom domain and an active campaign pointing at it.
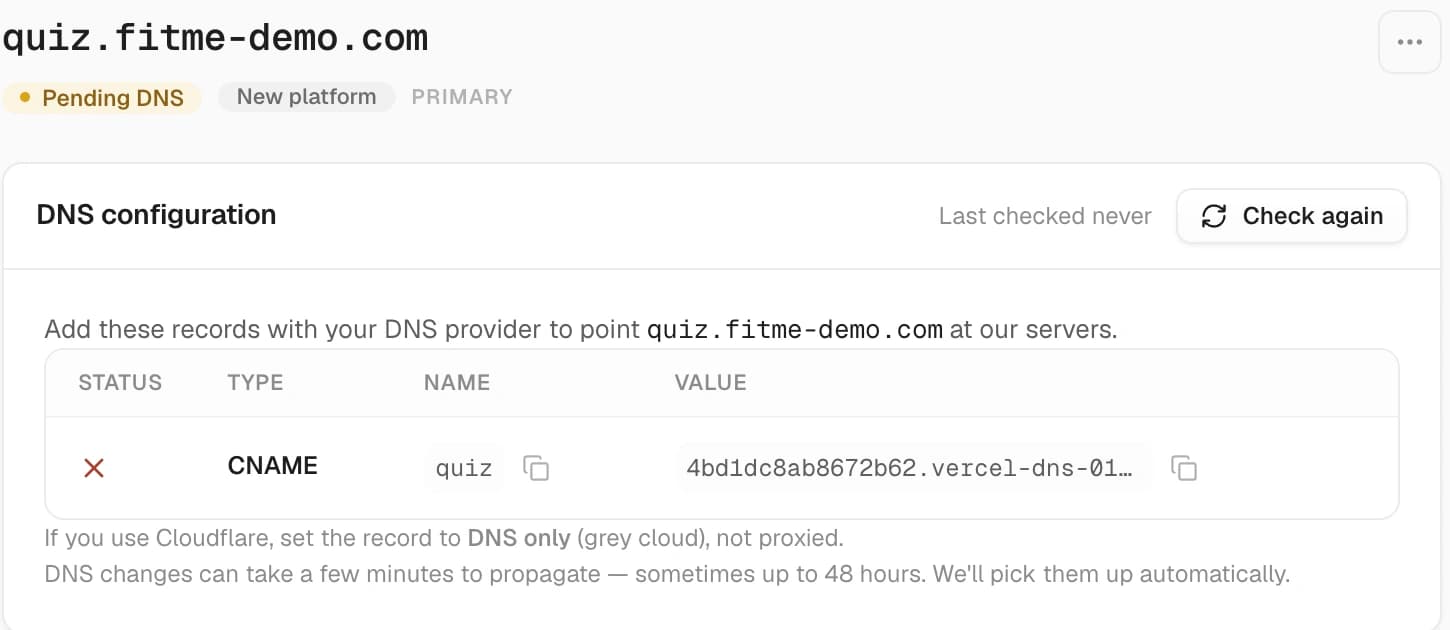
Attach the domain. In your project settings, open Custom Domain, enter your subdomain (e.g. quiz.example.com), and Save. Add the DNS records shown, then verify. Appfunnel serves funnels only on verified custom domains — never on a platform host.
Create and link a campaign. A campaign has a URL slug and links one or more funnels. Create one, link your funnel to it, and note the slug.
Campaigns default to PAUSED. A freshly created campaign does not serve traffic — the live URL returns a 404 until you set the campaign to Active. This is the single most common “why is my funnel down?” mistake. Resume the campaign before you send traffic.
Visit your live funnel
Your funnel now serves at:
https://<your-domain>/<campaign-slug>Open it. The start page paints instantly on the cold ad click. Walk the flow one more time in live mode — and you’re live.
Where to go next
- Understand the model behind all of this in Core Concepts.
- Learn to author pages, routing, and state in Build.
- Prefer to work locally? Set up the CLI.